PostgreSQL on Google Cloud Run for SAML SSO
This page outlines the steps to configure Appsmith installation on Google Cloud Run for using Security Assertion Markup Language (SAML) Single Sign-On (SSO).
Prerequisites
- A Google Cloud account.
- An Appsmith Commercial Edition installation on Google Cloud Run. If not installed yet, see the Google Cloud Run installation guide for installing Appsmith.
- Enable the Cloud SQL Admin API.
- Ensure that you have taken a manual backup for your instance.
Assign roles to account
-
Go to the IAM & Admin page in the Google Cloud console.
-
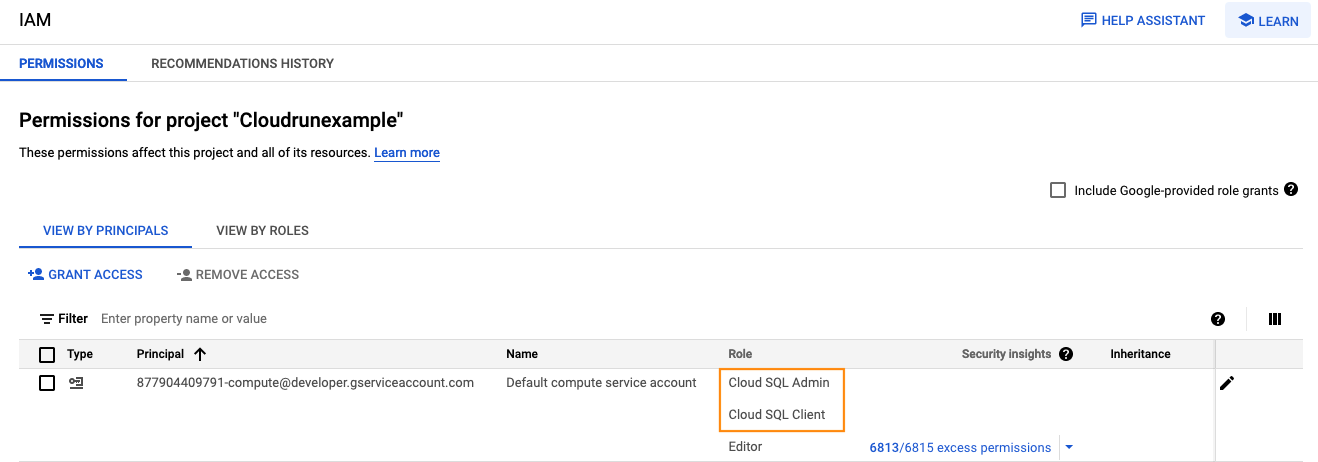
Grant the Cloud SQL Admin and the Cloud SQL Client roles to the member for the project.
-
Click Save.

Create PostgreSQL instance
-
In the Google Cloud console, go to the Cloud SQL Instances page.
-
Click Create instance.
-
On the Choose your database engine panel of the Create an instance page, click Choose PostgreSQL.
-
In the Instance ID field of the Instance info pane, enter an ID for your instance. Eg:
postgres. -
In the Password field, enter a password for the postgres user.
-
Select PostgreSQL 12 in the Database version dropdown list.
-
Select Enterprise in the Choose a Cloud SQL edition panel.
-
In the Choose region and zonal availability section:
- In the Region dropdown list, select the region for your instance.
- Select Single zone under Zonal availability.
-
In the Customize your instance section, click SHOW CONFIGURATION OPTIONS to display the groups of settings.
-
Under the Storage section:
- Select HDD under Storage type.
- Select 10 GB under Storage capacity.
-
Under the Connections section, select the Public IP checkbox.
-
Under the Data protection section, deselect the Automate daily backups and Enable deletion protection checkboxes.
-
Under the Maintenance section:
- Select Any window in the Maintenance window dropdown list.
- Select Any in the Order of update dropdown list.
-
Click Create Instance.
Create database
-
In the Google Cloud console, go to the Cloud SQL Instances page.
-
To open the Overview page of an instance, click the instance name.
-
Select Databases from the SQL navigation menu.
-
Click Create database.
-
In the New database dialog, specify the name of the database.
-
Click Create.
Create users
-
In the Google Cloud console, go to the Cloud SQL Instances page.
-
To open the Overview page of an instance, click the instance name.
-
Select Users from the SQL navigation menu.
-
Click Add user account.
-
In the Add a user account to instance instance_name page, select Built-in authentication (the default) and add a User name and Password.
-
Click Add.
Edit and deploy new revision
-
Go to your cloud run console.
-
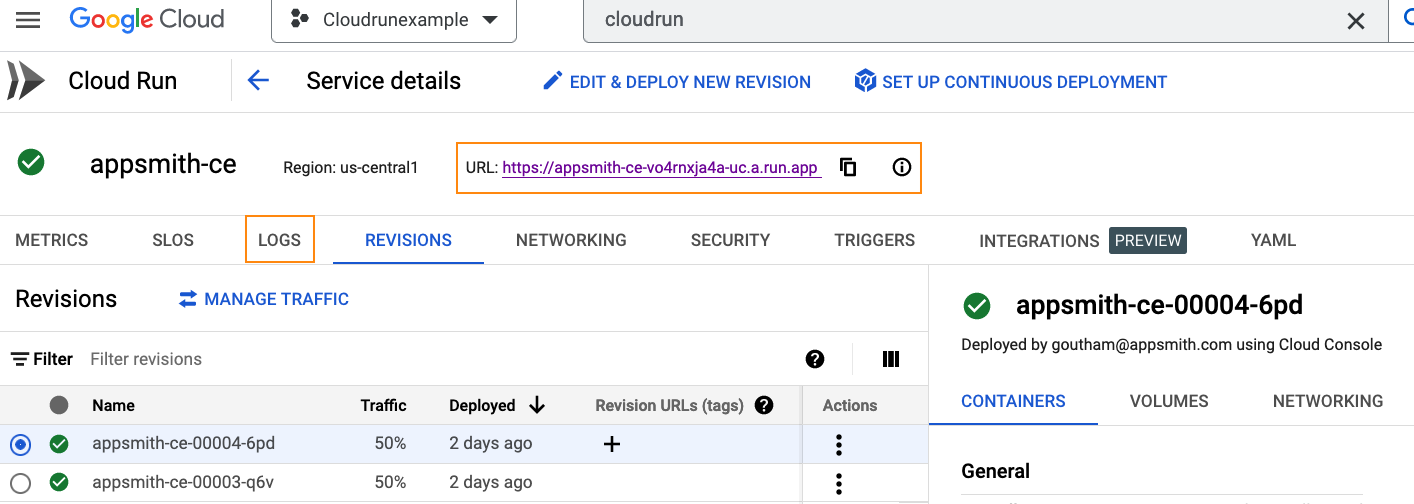
Select your Appsmith Service, and click EDIT & DEPLOY NEW REVISION.
-
Under Environment variables:
- Click Add Variable button to add each variable in the Name and Value text boxes as shown below:
Name Value APPSMITH_KEYCLOAK_DB_URL jdbc:postgresql:///<DATABASE_NAME>?cloudSqlInstance=<INSTANCE_CONNECTION_NAME>&socketFactory=com.google.cloud.sql.postgres.SocketFactory&user=<POSTGRESQL_USER_NAME>&password=<POSTGRESQL_USER_PASSWORD>APPSMITH_KEYCLOAK_DB_USERNAME appsmithAPPSMITH_KEYCLOAK_DB_PASSWORD appsmithAPPSMITH_KEYCLOAK_DB_DRIVER postgresqlKC_TRANSACTION_XA_ENABLED false- Remove the APPSMITH_DISABLE_EMBEDDED_KEYCLOAK environment variable by clicking the delete icon next to the environment variable value.
- Click Add Variable button to add each variable in the Name and Value text boxes as shown below:
-
Scroll down to Cloud SQL connections section.
-
Click Add connection.
-
Select the desired Cloud SQL instance from the dropdown list.
-
Click the Security tab. In the Service account dropdown list, select the account where you granted the Cloud SQL Admin and the Cloud SQL Client roles in the Assign roles to account section.

- Click Deploy button. A green check mark will appear next to the newly deployed service name when it's ready.
- Verify that the new revision is working as expected by accessing Appsmith, and logging into your account.
Troubleshooting
If you face issues, contact the support team using the chat widget at the bottom right of this page.